
September 13th, 2024
Meissner Monthly Sewing Project- The Mothman Plushie

September 13th, 2024
Meissner Monthly Sewing Project- The Mothman Plushie
For this month’s project, I wanted to do something kind of fall/Halloween themed so I could pretend it isn’t 100 degrees outside in September.
I thought it would be cute to make a little plushie of my favorite cryptid, Mothman!
I ended up making my own pattern for this project, since none of the teddy bear patterns I could find looked the way I wanted.
I thought it would be cute to make a little plushie of my favorite cryptid, Mothman!
I ended up making my own pattern for this project, since none of the teddy bear patterns I could find looked the way I wanted.


I Used:
I used:
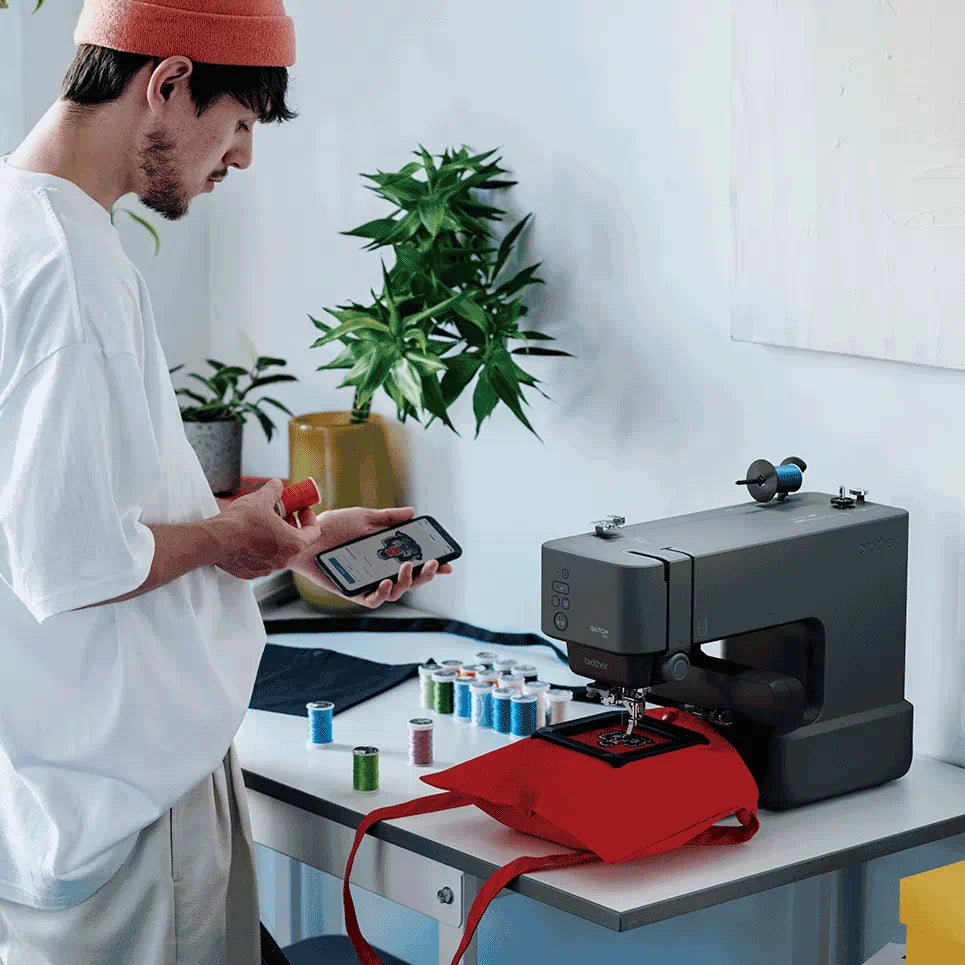
-Brother SKITCH PP1 Embroidery machine for the face
-1/4 yards of stretchy black plush fabric
-stretch knit machine needles
-hand sewing needles
-1/8 yard of black fur fabric
-Red and white embroidery thread
-1 bag of PolyFil

Baby Lock Joy Sewing Machine
Brother Skitch Embroidery Only

I used one pattern piece
to be cut 4 times for the body; two for the front, and two for the back. I started by pinning and sewing the center fronts of the torso together,
leaving the legs and arms al

Then, I placed the front and back pieces together, right sides together. I stitched around the entire mothman, minus about 3 inches at the top of the head which I used to turn him right-side out.

I decided to embroider him a little face using the Brother SKITCH PP1 embroidery machine.
Using the Artspira app, I drew his face, then hooped the head and stitched out the design. I went through a couple different versions of the face
as I decided how close together I wanted each feature, and how big they should be.

Once he had a face, I moved on to making his antennae.
I cut two 4”x 7” strips to be his antennae, and made two tubes out of these strips. I stitched up the sides of the antennae,
as well as the top, but left the bottom open for stuffing.

Once I turned them right-side out,
I stuffed them with PolyFil, leaving about 1” at the bottom for tucking into the top of the head.

I pinned the antennae to the open top front seam of the head,
with the ends of the antennae facing downward. I stitched the antennae down,
then sewed up the top of the head seam with my hand sewing needle and thread.

For the wings, I cut two, with the inner flat end of the wing on the fold. I then sewed each wing up, leaving 1” near the base of each wing to turn it right-side out. Once right-side out, I hand whip-stitched the wings onto the back.


Now He's All Done!

Shop Sewing Machines
Whether sewing has been a life-long passion or a world you’re just beginning to explore, we carry everything you need to equip and inspire your journey.


Shop Embroidery Machines
Our remarkable selection of embroidery machines makes it easy to find the right model for you and our price match guarantee means you’ll always get the best price.


