Monthly Meissner Sewing Project: Making a Quilt out of Old T-Shirts
August 15th, 2024

Monthly Meissner Sewing Project: Making a Quilt out of Old T-Shirts

August 15th, 2024

Monthly Meissner Sewing Project: Making a Quilt out of Old T-Shirts

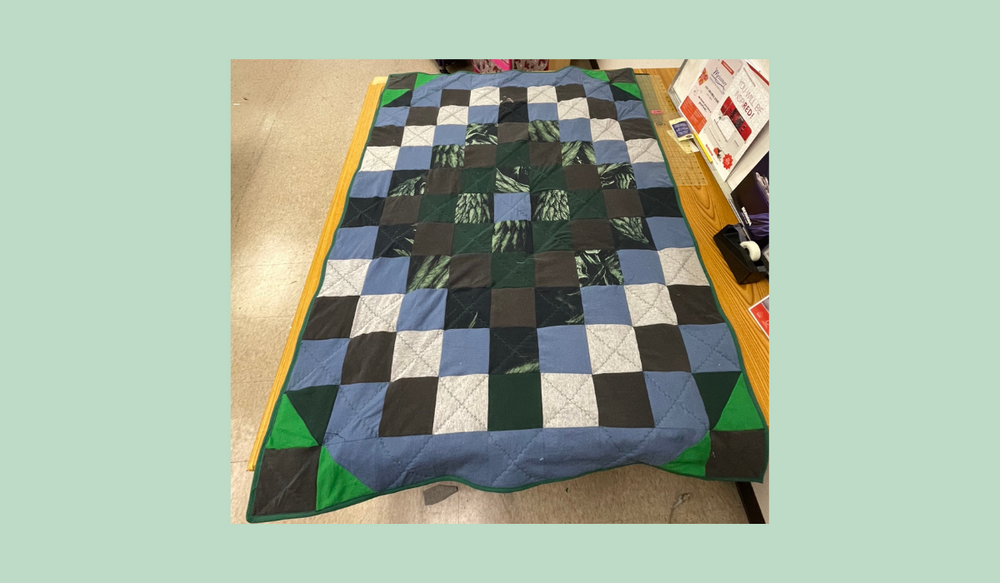
My dad was getting rid of a bunch of his old t-shirts, and being overly sentimental and not wanting to toss them all, I asked if I could use them for a sewing project. I had seen people make quilts out of t-shirts before, so I thought I’d give it a try.
For This Project You Will Need:

For This Project You Will Need:

- several old t shirts*

-thread

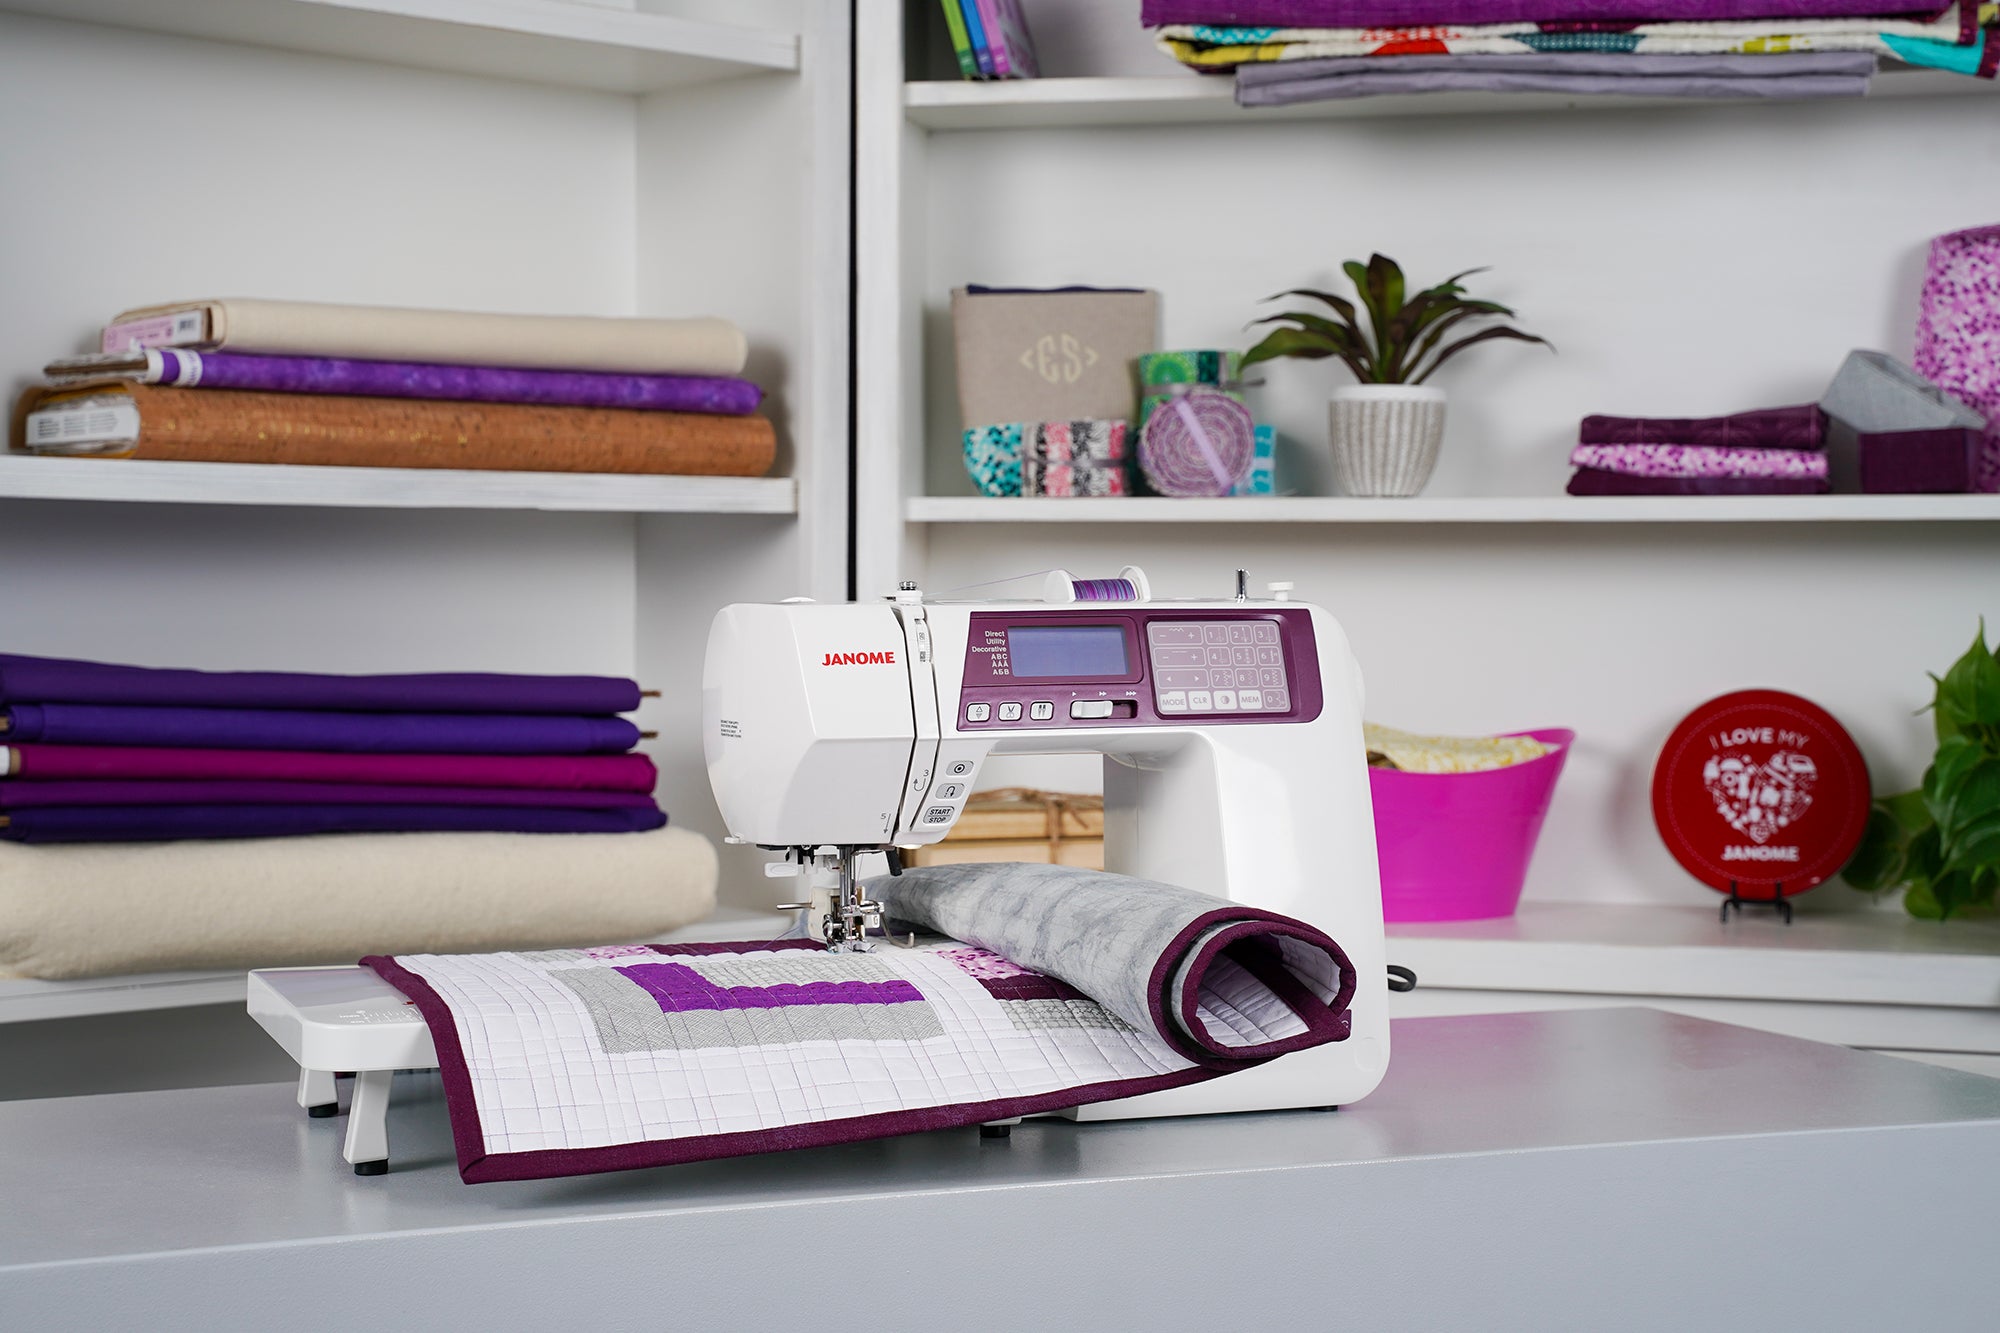
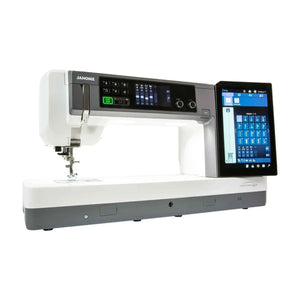
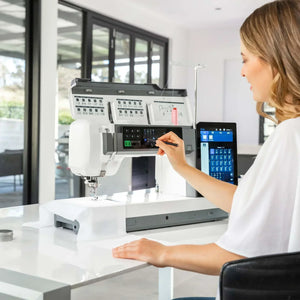
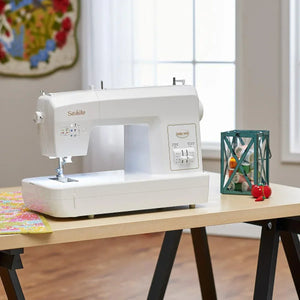
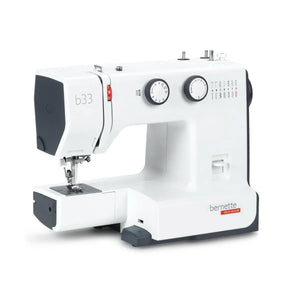
-sewing machine (any should work fine, but I chose the Janome 4120 for the decorative stitches to make it a little more fun!)

-cutting board & rotary cutter

-batting*

-backing fabric*

-bias tape*

*amount
depends on desired quilt size

Janome 4120 QDC-G Sewing & Quilting Machine

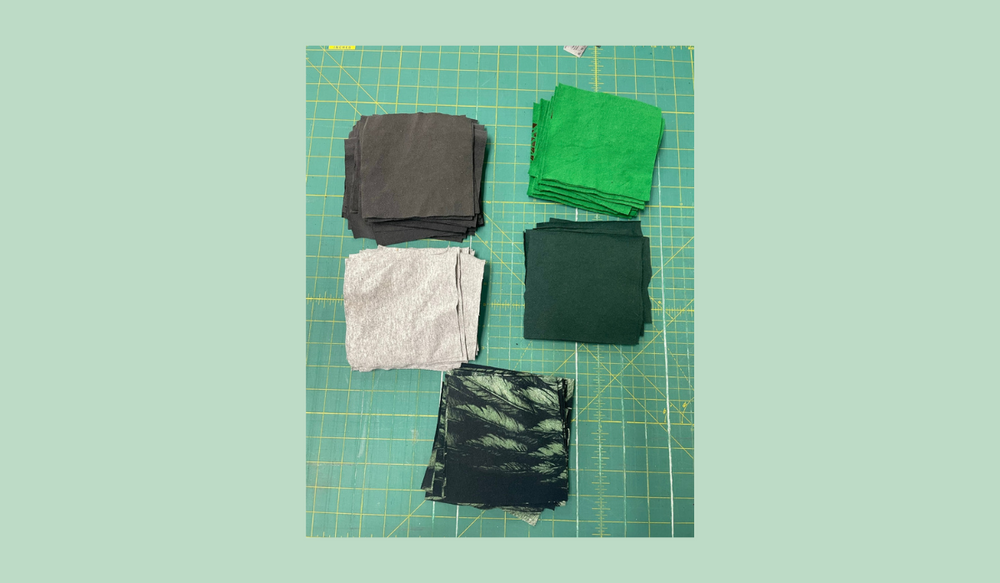
Most of the examples I saw online tried to preserve the design of the t-shirts by making really large squares for the quilt. My dad has a tendency to run his shirts into the ground, so this wasn’t super practical with all of the wear-and-tear that his shirts had. Instead, I decided to cut regular 5” squares, just avoiding any of the worn areas.

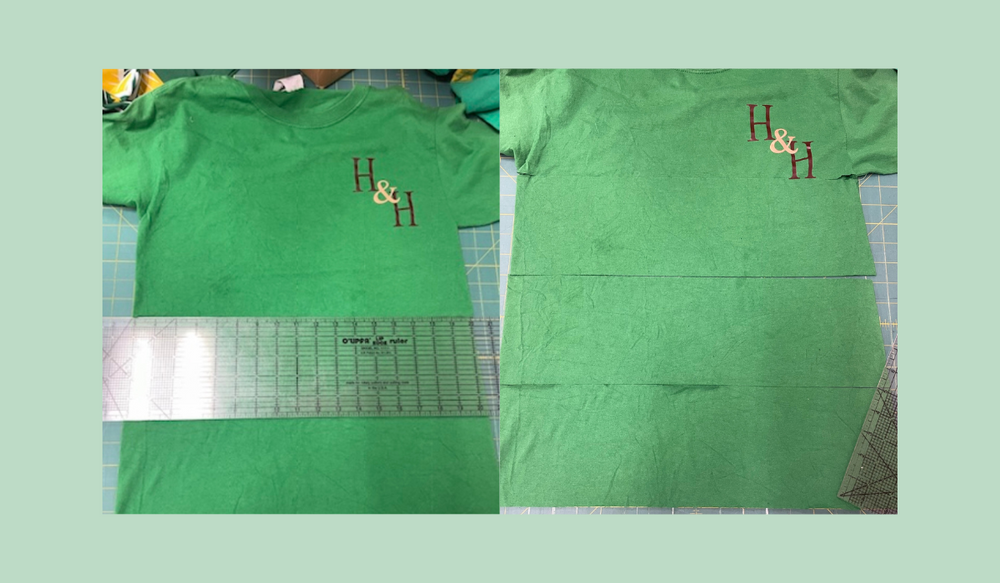
To do this, I laid out the t-shirts as flat as I could and cut 5” strips across the torso. Once I had those, I cut the strips into 5x5” squares.

T-shirts are stretchier than they look, so it’s important to be careful when cutting your squares that you aren’t pulling the fabric in a way that will make your cuts uneven.

*If you are new to working with knit or stretch fabric, I highly recommend backing your fabric with fusible interfacing to give it more structure.* I cut out my pieces and left a ½” seam allowance. The standard for garment sewing is often 5/8”, and the pattern for this project says 3/8”. I find those seam allowances personally offensive since I am absolutely dreadful at math, so I usually will go with a nice ½” seam allowance.
I had 5 t-shirts worth of squares, which was only enough for a very petite blanket; if you’d like a bigger blanket, use more t-shirts! You can also supplement with shirts from thrift stores if you want a specific color to go with your other shirts, or just need more squares.
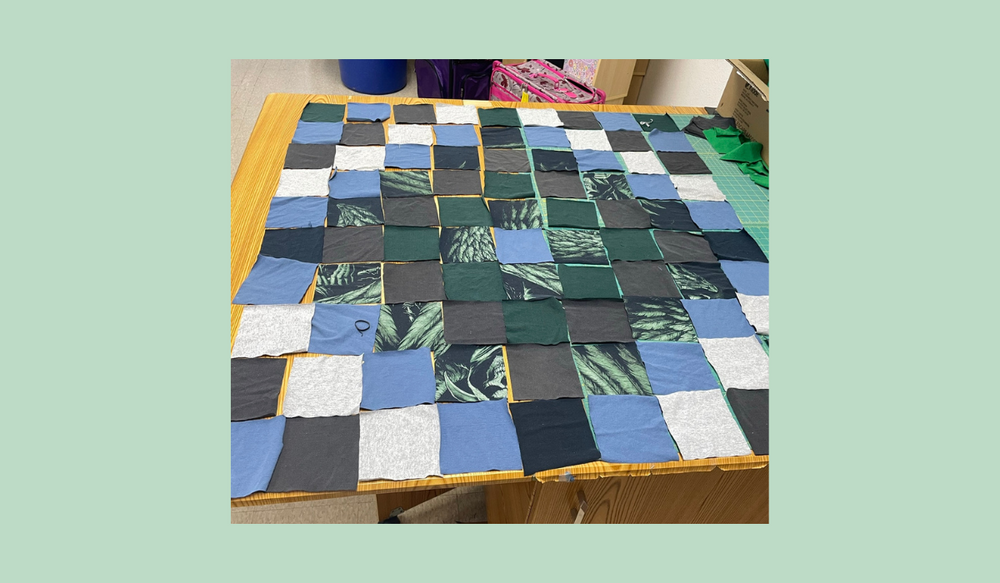
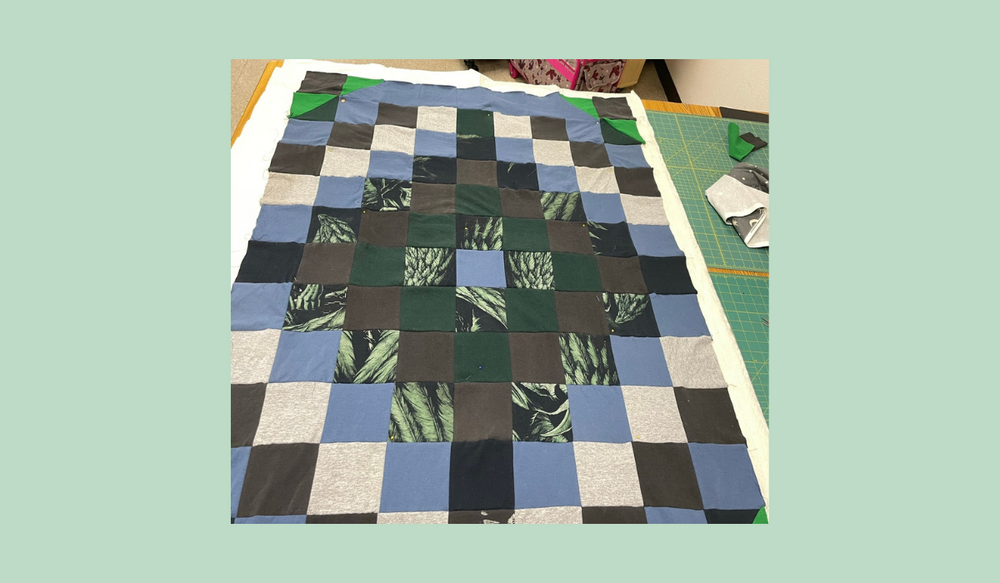
Once I had all of my squares, I laid them out into a pattern. I did this entirely at random with no plan in mind, but you can also follow a pattern online if you’d like it more organized!
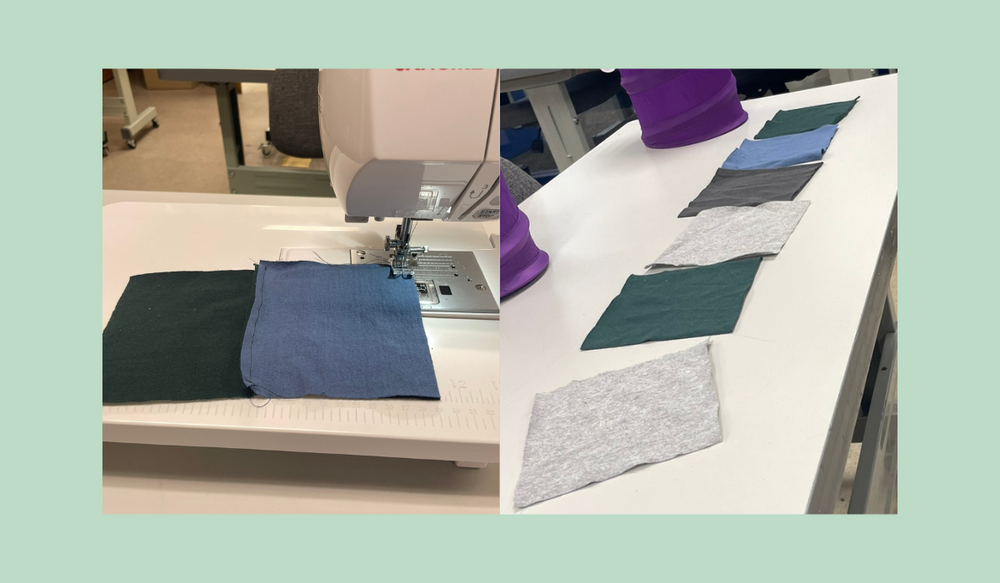
Then, row by row, I started stitching the squares together at ¼”.
Once I had all of my rows, I stitched the rows to each other, also at ¼”.
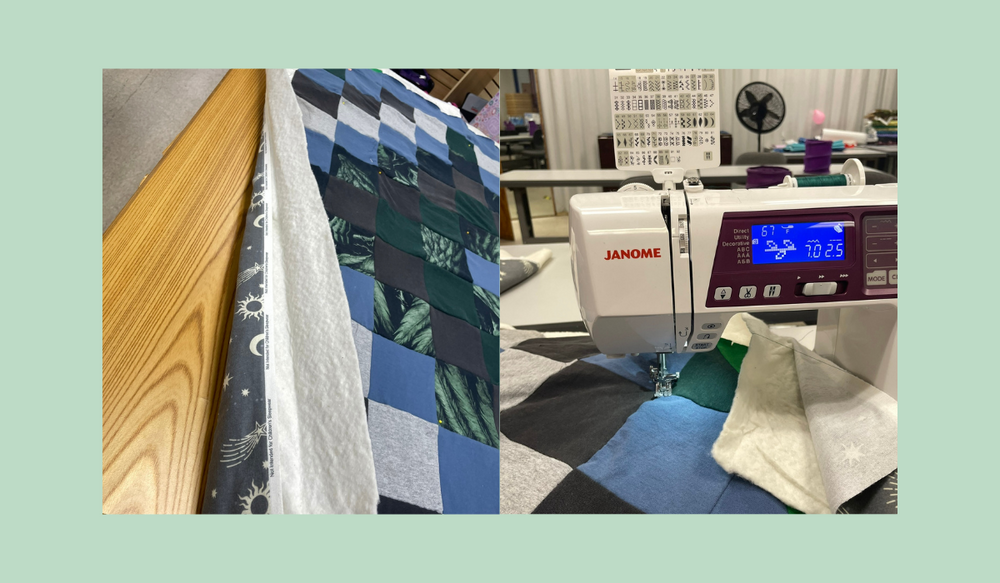
With my quilt top done, I laid my backing fabric face down on the table, with the batting on top, and the quilt top on top of that. I tried to smooth out my layers as best as I could, then pinned every few squares to keep the layers together.
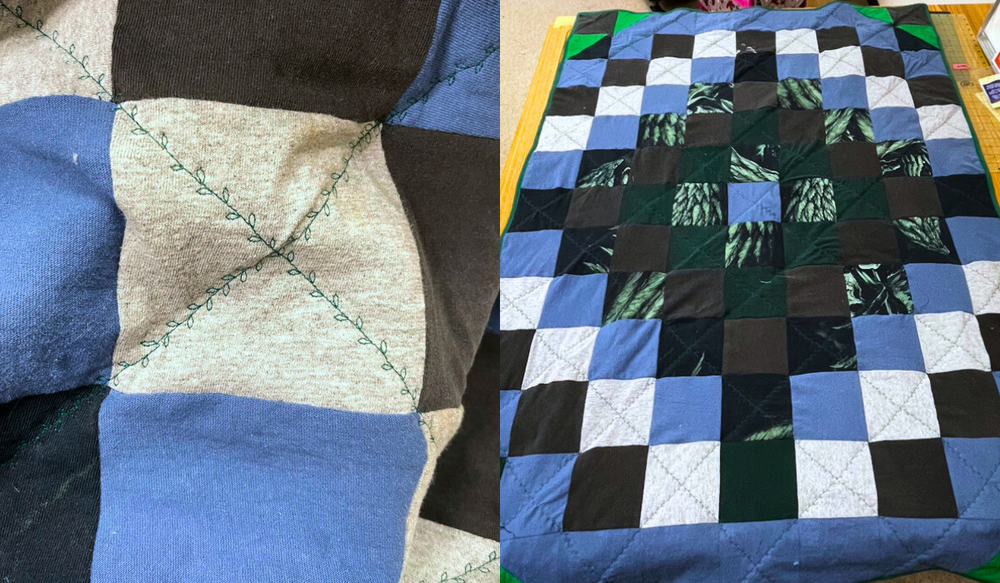
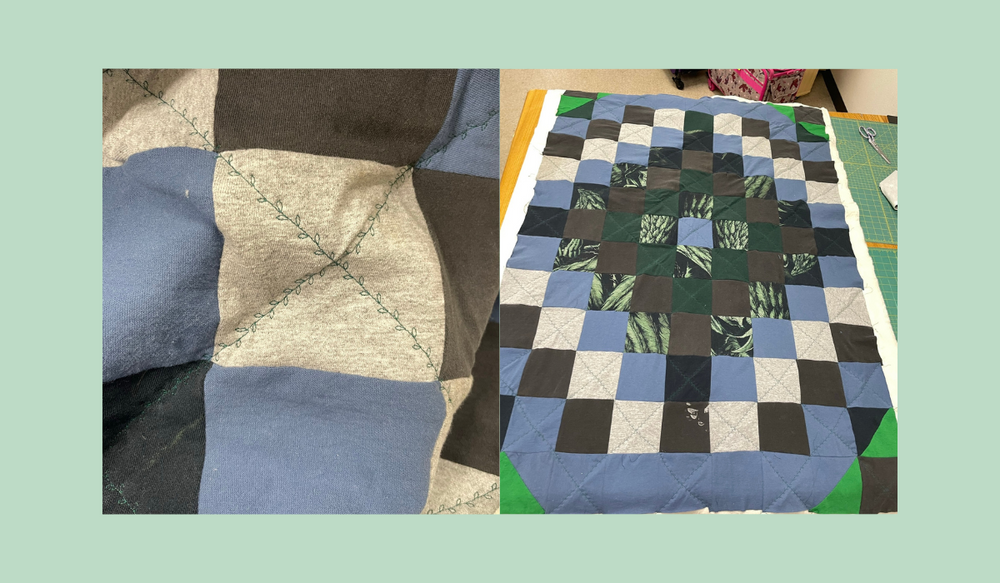
Then, I picked a fun, vine stitch on the Janome 4120 and used that to create my lines. I decided to go diagonally so that you could really see the design.
Once I’d sewn all of my diagonals in one direction, I started stitching in the opposite direction to cross my lines.
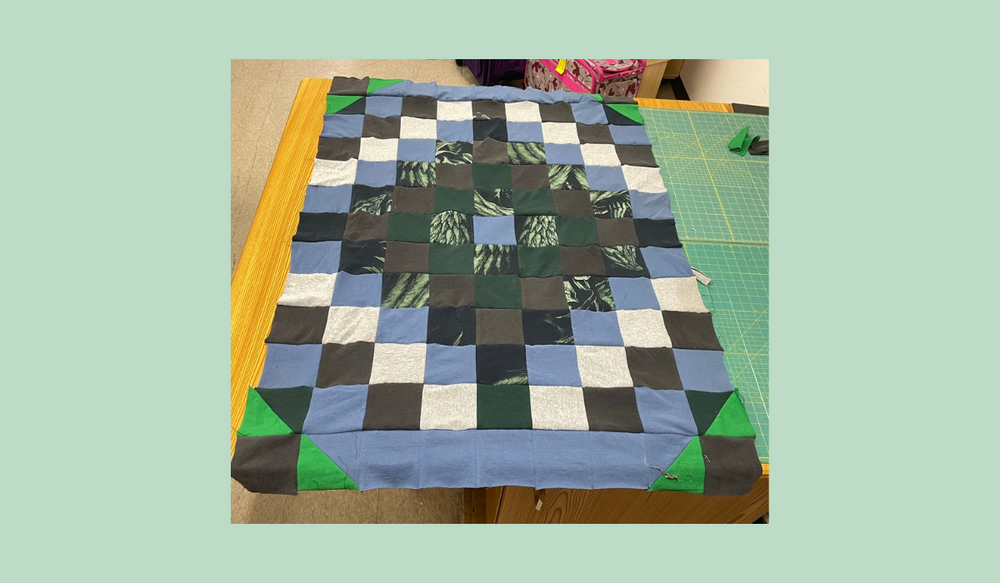
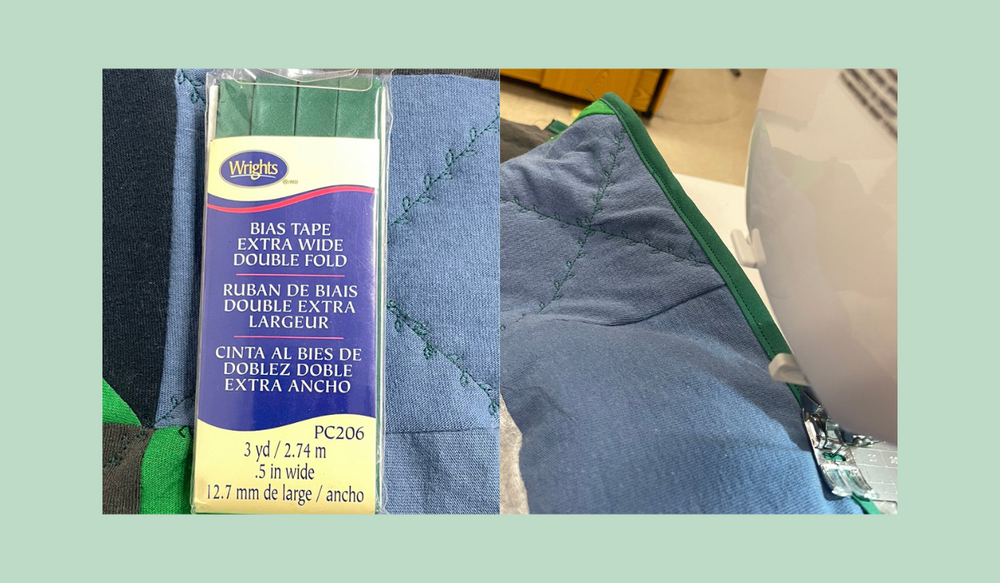
With the quilt together, it was time to cut off my excess batting and bind the edges. I had left a lot of extra batting just in case the stretch of the t-shirts made the quilt top spread out too much.
I stitched bias tape around the edges of the quilt to finish it off.

And that’s all!

That was my very first quilt, and I think it turned out pretty okay for a first try. This is a great way to avoid sending old shirts to the landfill, and it’s super soft and cozy since the shirts are well-loved!