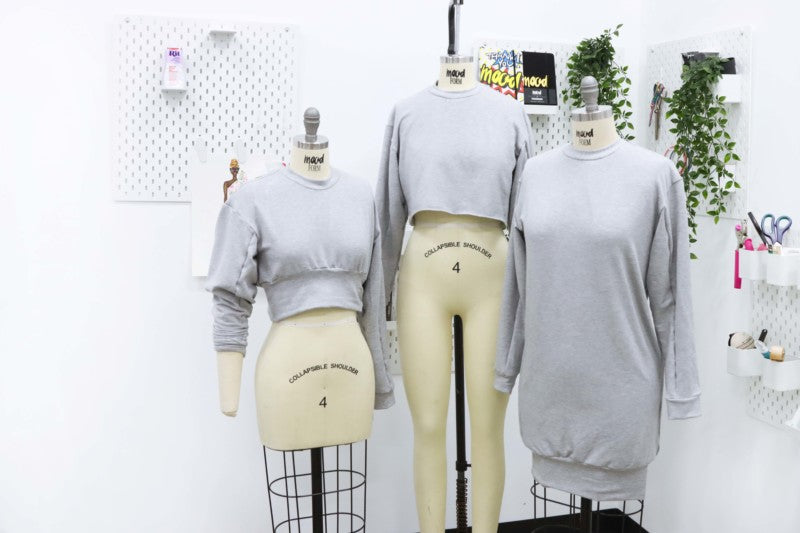
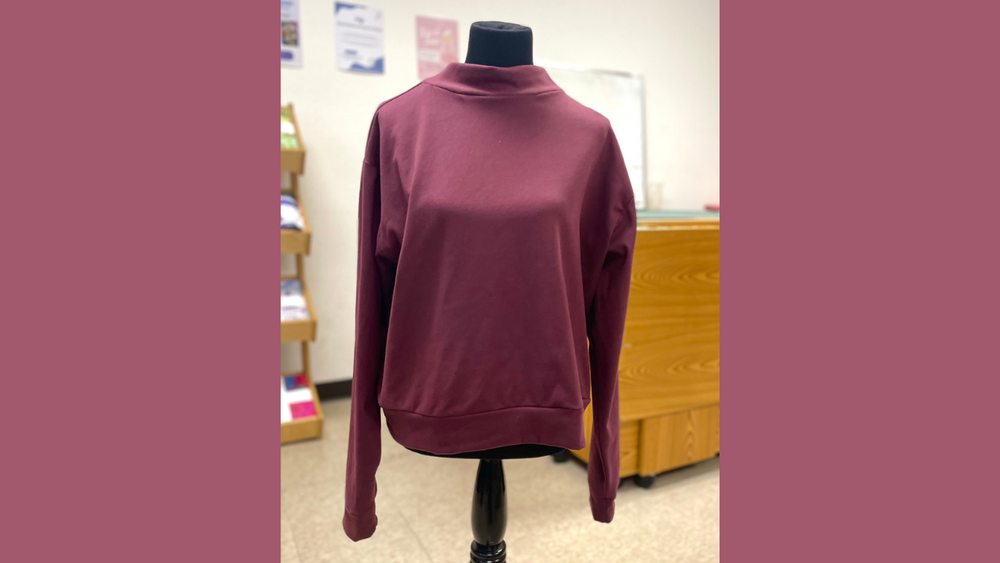
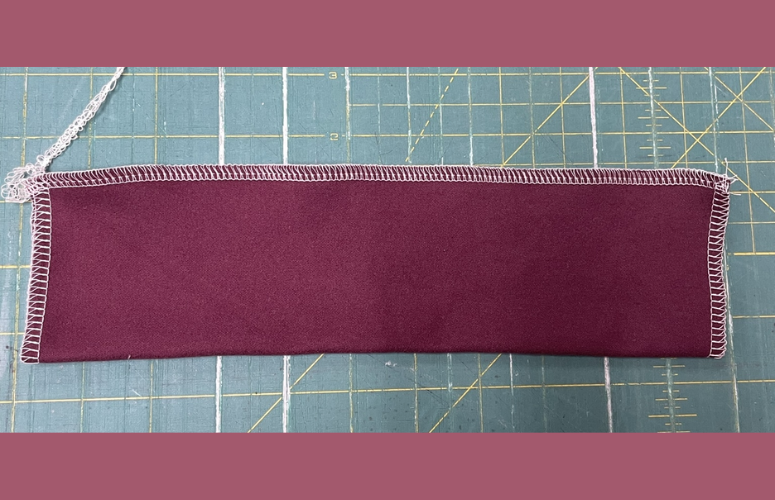
The main things I changed from the original Mood pattern were the length of the sweater, the width, and the number of pieces for the sleeves. The original pattern calls for three sleeve pieces, but I prefer less seams, so I made them into one sleeve piece that had less fullness. I also make the collar/neckline piece a little longer to make it more of a mock-neck, because I like being extra cozy.

July 12th, 2024
Monthly Meissner Sewing Project: The Sweatshirt
July 12th, 2024
Monthly Meissner Sewing Project: The Sweatshirt

For This Project You Will Need:
-3 yards stretch fleece
-fabric shears or rotary scissors/cutting board
-pattern (buttercup sweatshirt collection available here)
- pins
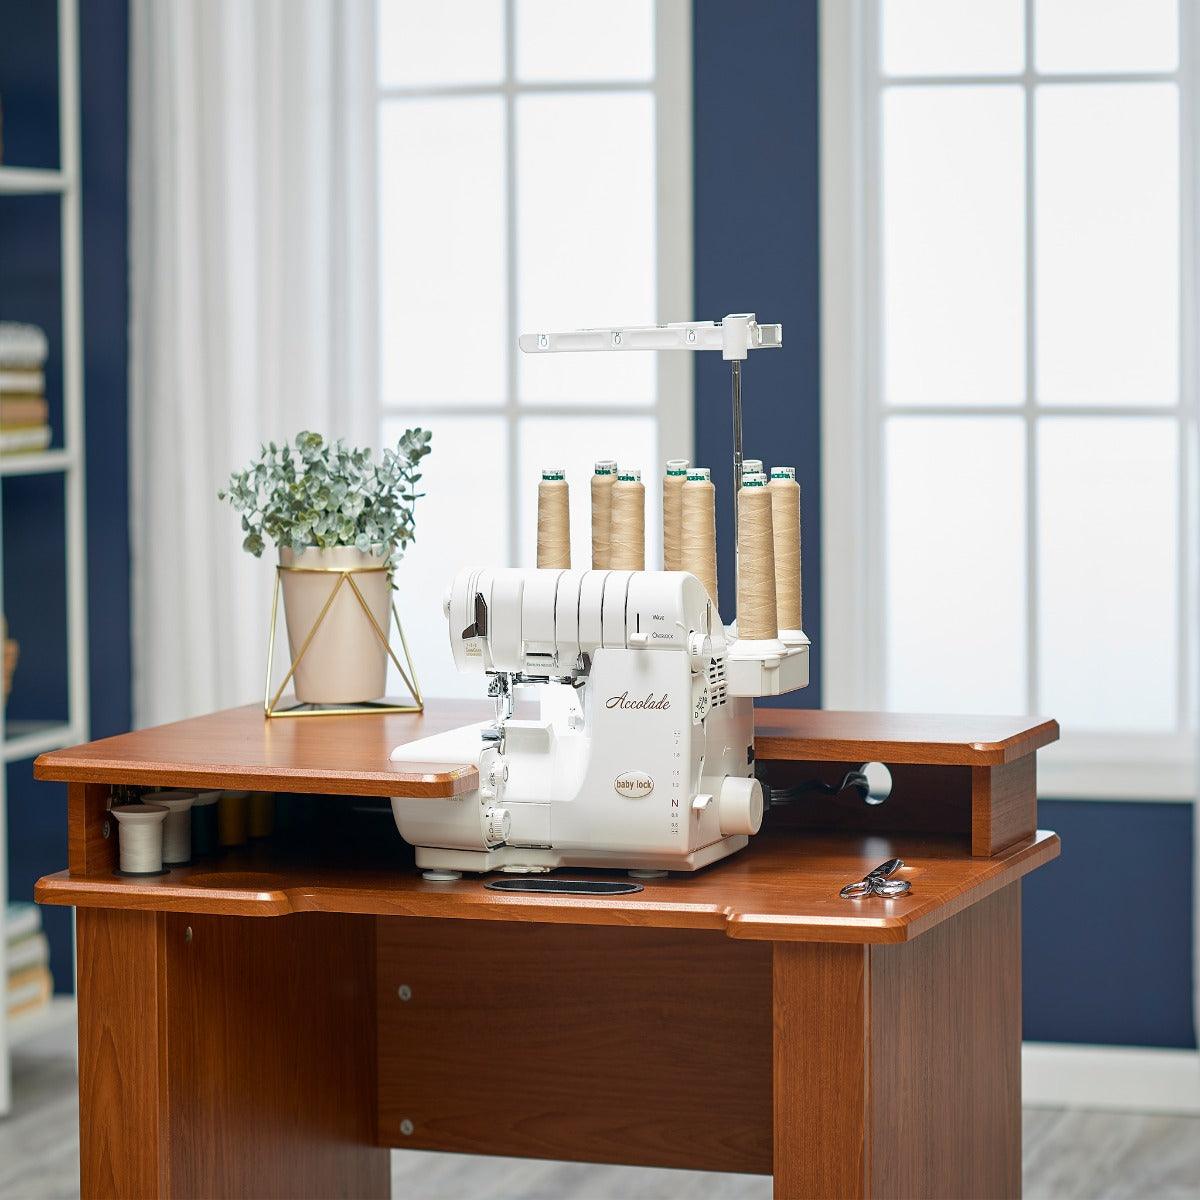
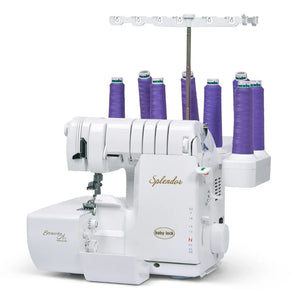
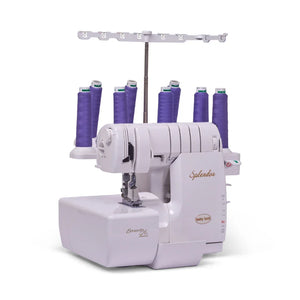
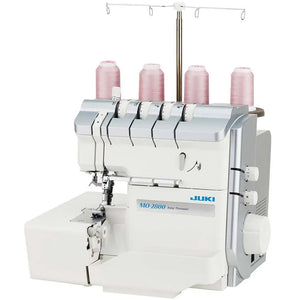
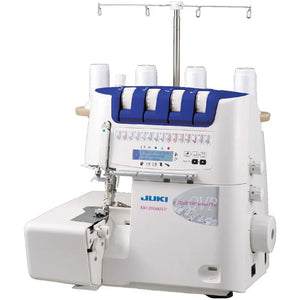
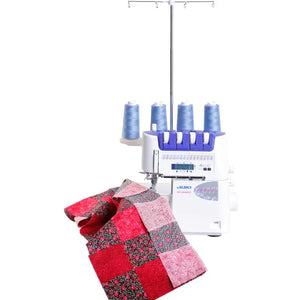
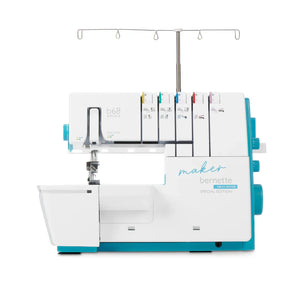
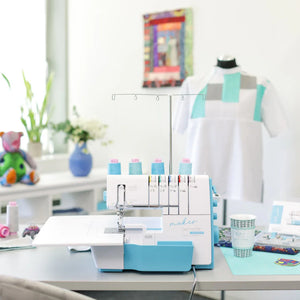
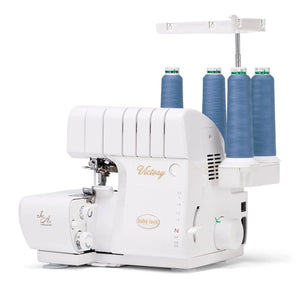
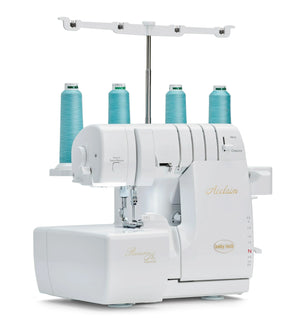
-serger (optional, but strongly recommended)

Getting Started:
Getting Started:
I cut out my pieces and left a ½” seam allowance. The standard for garment sewing is often 5/8”, and the pattern for this project says 3/8”. I find those seam allowances personally offensive since I am absolutely dreadful at math, so I usually will go with a nice ½” seam allowance.

Serging:
Serging:
For the cuffs, neckline, and hem of this project, I folded all of my trim pieces in half (the way they’d be on the finished garment) and serged them while folded. This makes it so you have one serged edge rather than two when you’re putting your garment together, which makes things a bit tidier.
You generally want to serge your pieces first, and then put everything together. I decided to stitch up most of my seams first and then serge, just so the seams were encased in the overlocking to make it a bit tidier. I would recommend just serging all of your individual pieces first, though, if you’re new to garment sewing just to keep things simple.

Stitching:
Stitching:
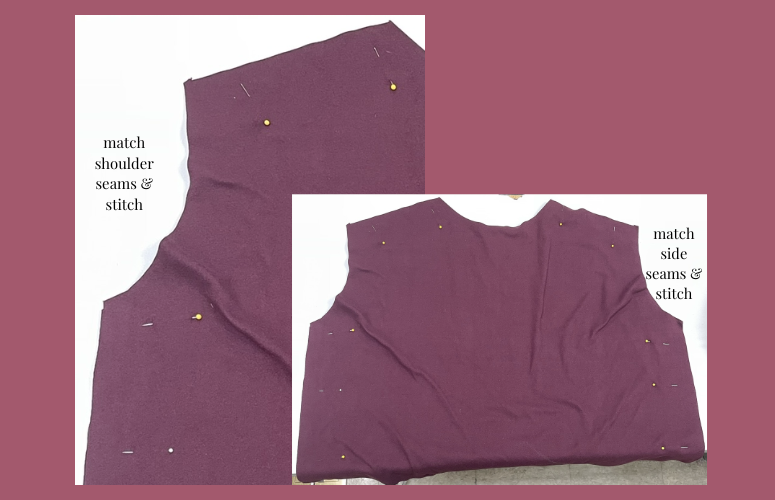
I started by matching shoulder seams, and stitching those.
Then, I did my side-seams.

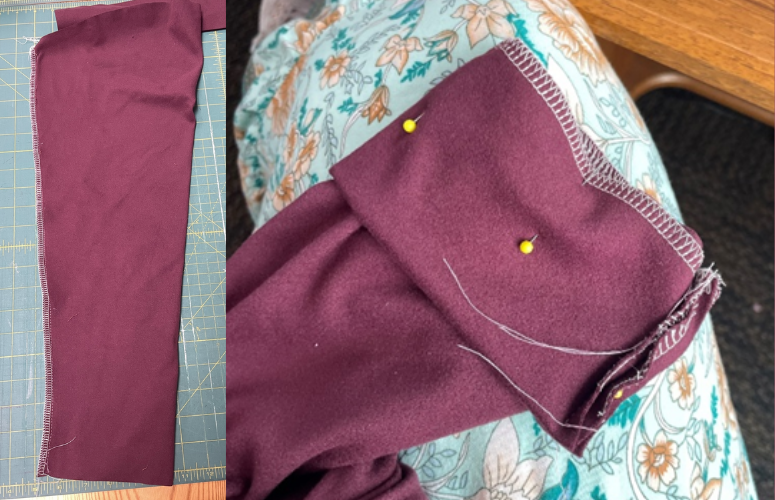
With the sleeves done, I could place them inside the armscye (fun garment term for arm-hole!) and stitch that together.

(if the bottom of your sleeve hangs out of the bottom like this, and you see that the sleeve portion is right-side out, you’ve done it correctly!)
When sewing a sleeve, note that the longer, rounded edge is the top of your sleeve. If you used the Mood pattern for this project, you’ll see that there are three sleeve pieces. The “F” piece will be the top of the sleeve, and the seam between E and G will be the bottom of the sleeve.

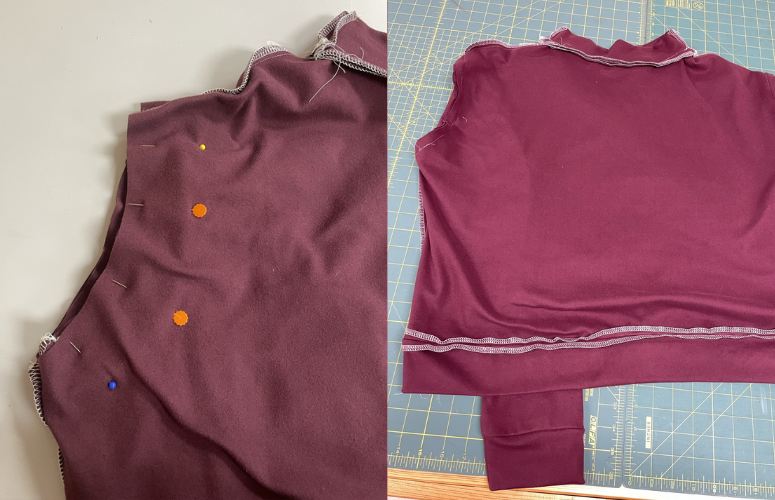
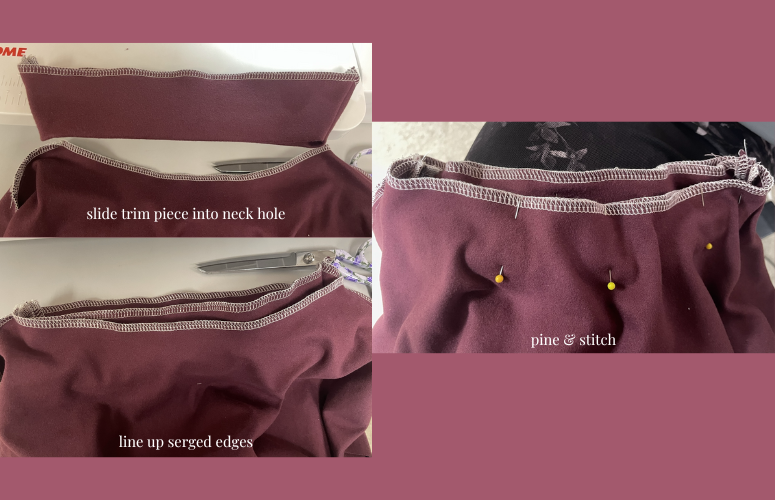
Slide trim piece into neck hole
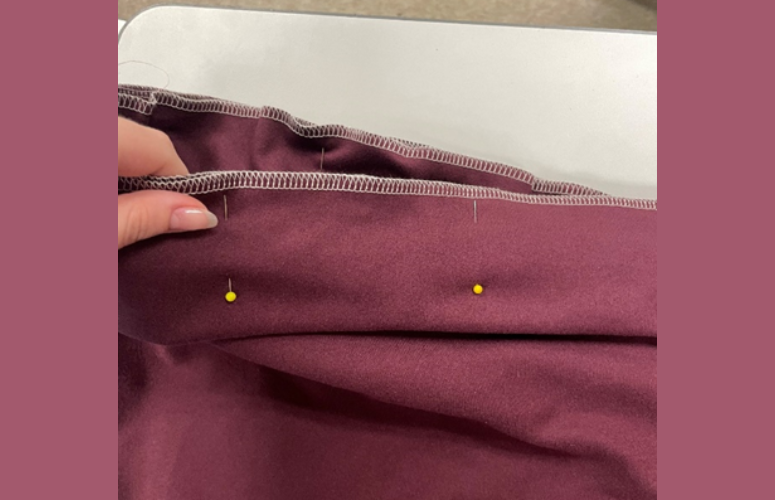
Line up serged edges
Pin and stitch

Pin the hem trim piece to the serge hem of the sweatshirt, and stitch

Top Stitching (optional Step)
Top Stitching (optional Step)
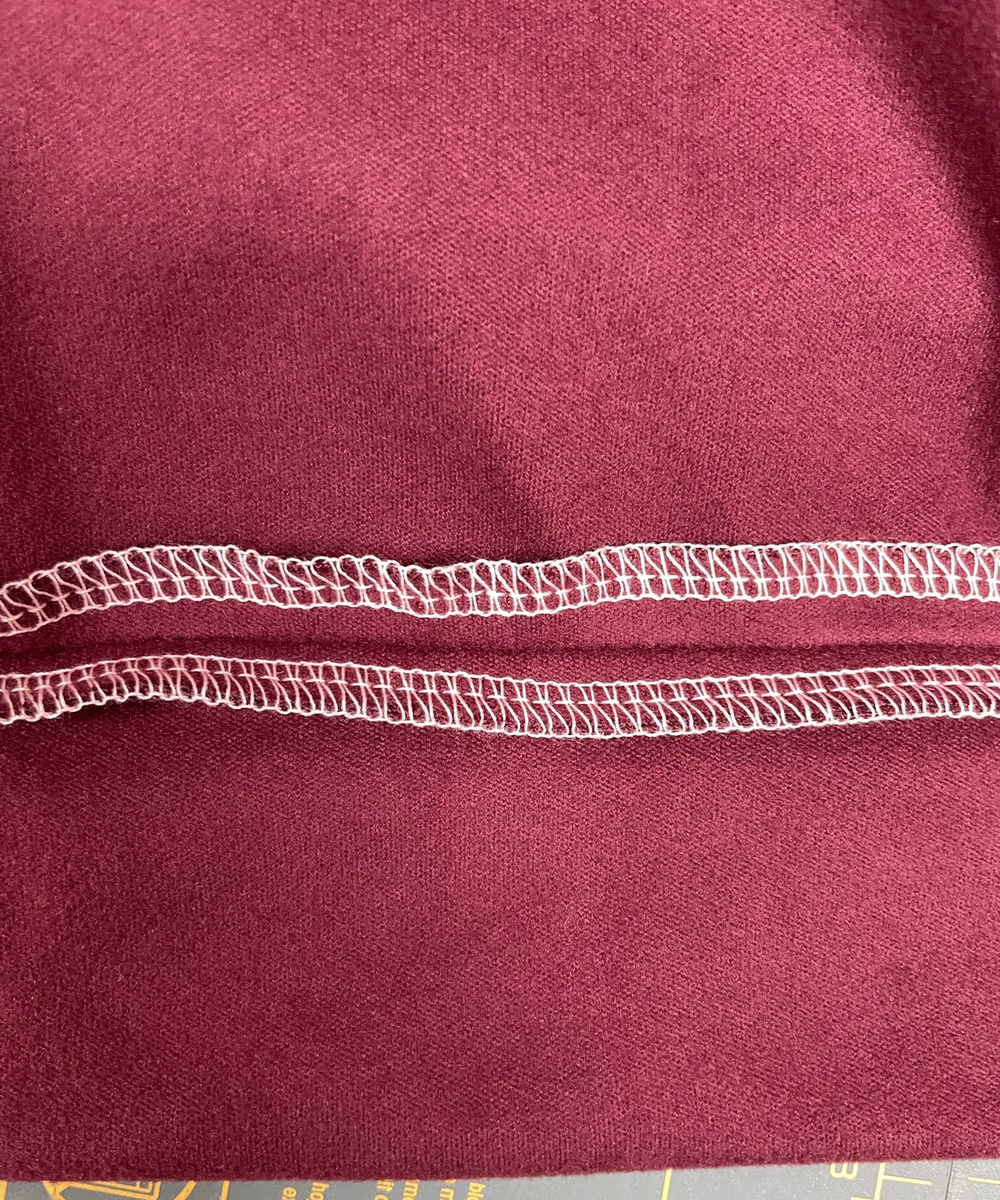
(this is how your seams should be pressed out)


Press Seams, and turn right side-out!
All done!

